How to Clean Grapes - Naturally


This is the season of grapes everywhere.The old classical method of cleaning the grapes is just to wash it under tap water.Nowadays most of,not almost all of the grapes in the market are coated with pesticide sprays.It looks like dipped in pesticide pool.When we intake them ,with a single or double wash with tap water,we also consume the pesticide that's sprayed.On persistent consumption of these type of goodies we are in danger to health.Yes these pesticide sprayed grapes are hazardous to health in due course.Is there any other way to clean these traces of sprays from the grapes.Yes of-course,the method i have shared here is a tip said in a health program.I followed this method and would like to share this small tip with you.I have shown this simple method with pictures,so that it may be helpful.


Essentials


  • Grapes 
  • Salt - For 1litre 1 to 1.5 tsp of salt (can use rock salt also)
  • Turmeric powder - 1 tsp
  • Water - as required
  • Small towel/ White cloth


Method


  • Take the grape bunch and remove them from the stalk/stem.Wash them one under tap water.


  • Strain the grapes ,keep aside.In a bowl add required amount of water (Mineral or Good water).Water level -  just to immerse the fruits.Add salt.


  • Add the grapes to the water and leave it aside for 5-7 minutes.


  • After the specified time.Wipe the grapes with a towel with mild pressure.Collect the wiped grapes in the strainer.


  • Again take some water(Mineral or Good water) add the turmeric powder and soak the grapes in turmeric water for 5 minutes.


  • At the end strain the grapes from the water.Its ready for consuming now.


  • You can clearly find the difference in Before - After Pictures.


Read More..

Japanese Cotton Soft CheeseCake - Step by Step


Japanese cotton cheesecake was my dream cake ,that's the way to say, yeah...this was the cake I was keeping an eye on over a long long time.Whenever i plan to try a different cake my mind reminds me of that and i just googled the images of that cake and stare on the pictures."Wow what a lovely cake".More than to try i wanted to just have a bite of it.Really,but where could i find these cakes?,no where around my place.Even getting the ingredients for this cake was not an easier task to me.Cream cheese which is available in Britannia brand was an alternate option instead of Philadelphia cream cheese.While doing a research on making of this cake i found someone said Britannia brand was bit salty compared to Philadelphia one's.So why to be in the risky part while trying for the first time,so i waited and got the Kraft Philadelphia cream cheese and cream of tartar.My purchase for making this cake was over.The only thing i needed to do is a startup. But due to some other reasons it was getting postponed.Finally i got the special day,and  made this cake yesterday.


Am so happy to share this exclusive,yummy , super soft cake ever i have tasted in my life.No words to say on each bite..its heaven...Absolutely...Main part of this cake is cream cheese,even we add the flour in less quantity compared to cream cheese.So it's definitely a cream cheese cake...After keeping ready of all the ingredients my anxiety dominated my excitement over the outcome of the cake.It was funny that i couldn't keep my eyes off during the cake mixing i had a feel of happiness and nervousness...And when i looked at the oven after an hour i jumped in happiness ..yaayyyy my cake didn't get cracked...Ultimate happiness to look at the outcome of the cake...


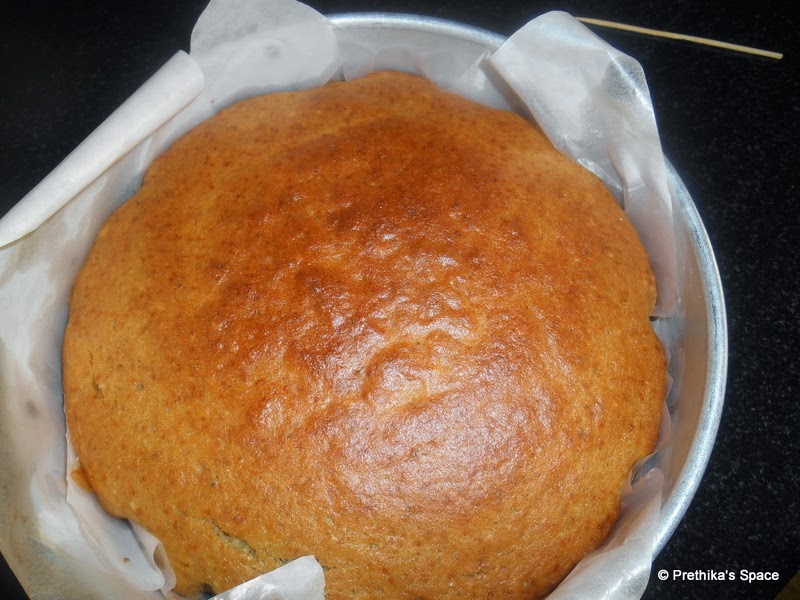
You can find the super sponge texture...


During my research about this cake i came across Priya's Japanese cotton cheesecake,and got some of my doubts clarified through her.Thank you Priya sis...Over to the method.....


Ingredients


Recipe Source Diana'sDesserts


I have halved the Original recipe


Egg Yolks- 3 No
Egg Whites - 3 No
Cake/Plain Flour - 30 g (I used plain flour(All purpose flour))
Corn Flour - 10 g
Cream Cheese - 125 g (I used Kraft Philadelphia)
Butter - 25 g
Milk (boiled) - 50 ml
Cream of Tartar - 1/8 tsp (or half of 1/4 tsp)
Lemon Juice - 1/2 Tbsp
Salt - 1/8 tsp (I didn't add salt)


Other Essentials


  • A double boiler arrangement 

All you need a two vessels.The vessel(bottom vessel) which is to placed on stove top should be filled with half the volume of water and the neck of the vessel should be small enough to place the other vessel on its top.Allow water in the bottom vessel to boil and when you find steam piping out ,place the top vessel above the bottom one.The stuff in the top vessel get's cooked/liquefied by the steam.This is double boiler method.Ensure that the top vessel does not touch the water in the bottom part.

  • A metal sieve

  •  4 bowls (inclusive of the top vessel mentioned in double boiler method) 

  • 2 baking pan.

one pan goes for the actual baking and the other pan should be wider than the actual baking pan,where we are going to place the actual baking pan inside it.

  • Covering the baking pan with parchment paper.

Completely cover the bottom of the baking pan with parchment paper.Coming to the sides,cut the parchment paper such that they are little bit higher than the actual side measurement,such as 1.5 inch above the height.


Method


  • Preheat to 160C. Cover the baking pan with parchment paper and grease them.Ensure the butter,egg,cream cheese and milk are at room temperature. Separate the egg yolks and egg whites.


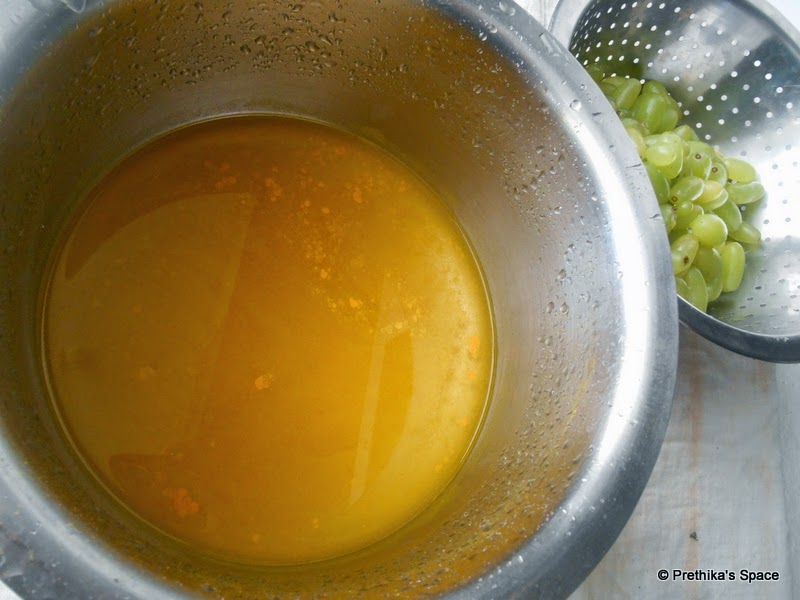
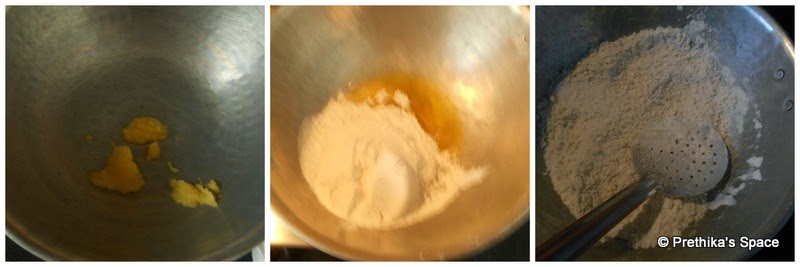
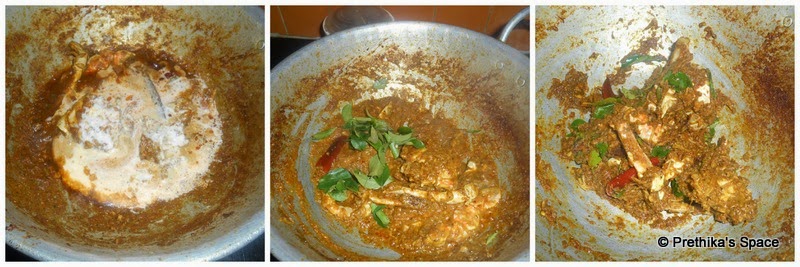
  • Make sure your double boiler method is setup.Add the cream cheese,butter and oil to the vessel which goes to the top portion of the double boiler. Once steam starts piping out place the top vessel above the bottom one(As said above).Gently give a stir and mix all ingredients altogether.Stir until cream cheese and butter has melt down.You may find some visible lumps after this stage.Try to incorporate all the 3 ingredients as much as you can.Even if you find some minute lump like texture ,leave it it will be ruled out before the final step.Allow the cheese mixture to cool.


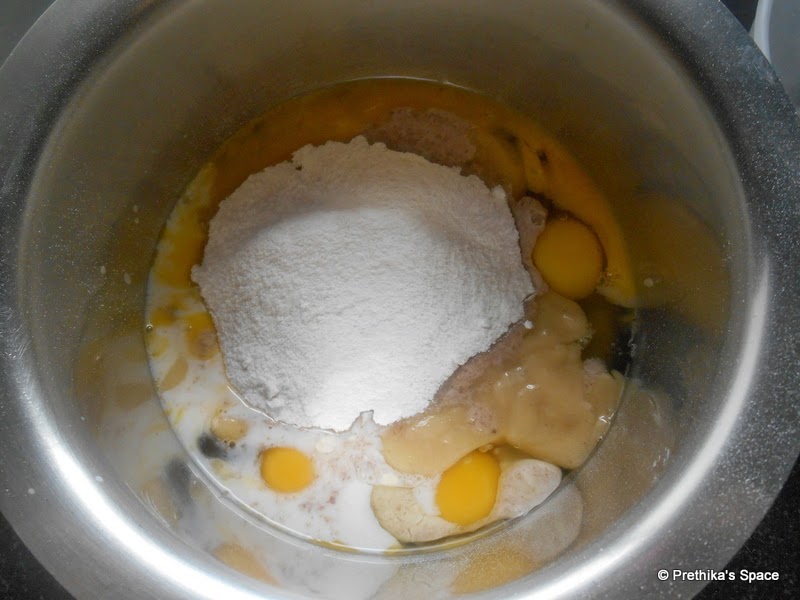
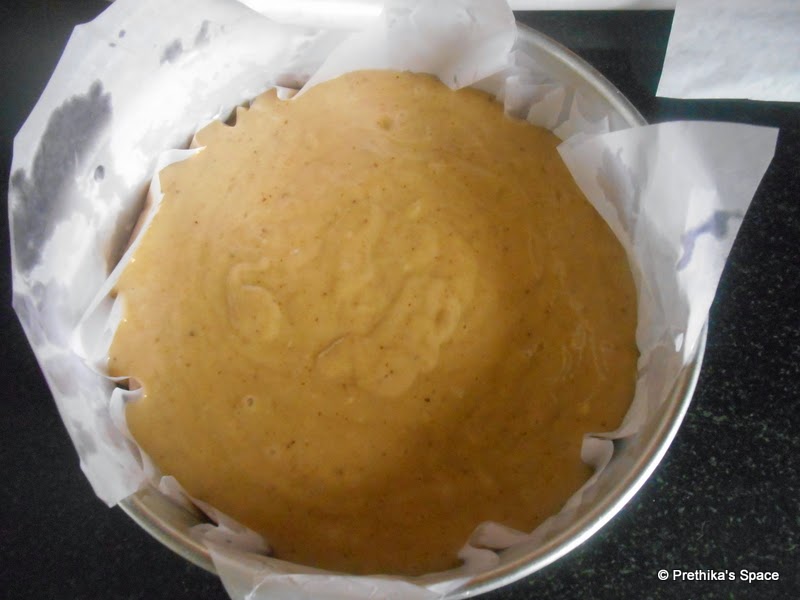
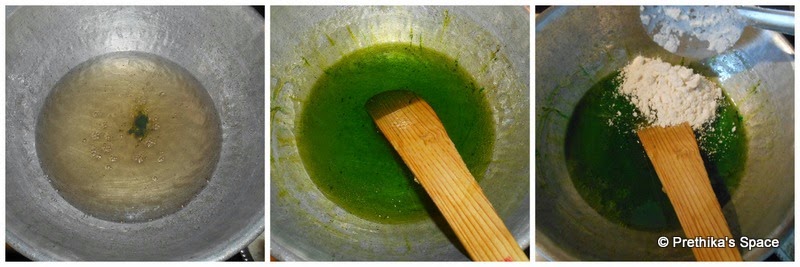
  • You can find my baking pan covered with parchment paper,a small portion was left uncovered while taking this pic,please excuse me.In a bowl add the egg yolks and lemon juice  and beat them until frothy,atleast 3 minutes.Add the cake/plain flour and corn flour and egg yolk to the cheese mixture and fold them with the help of a spatula.

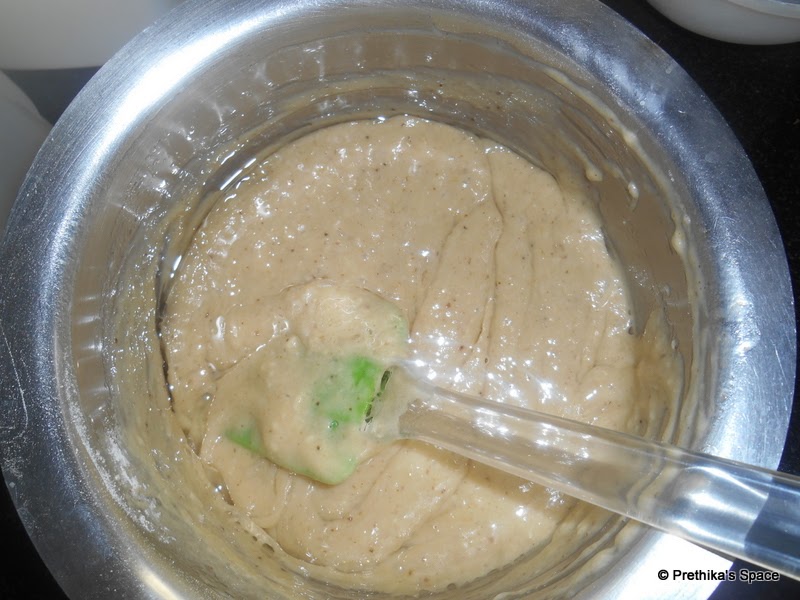
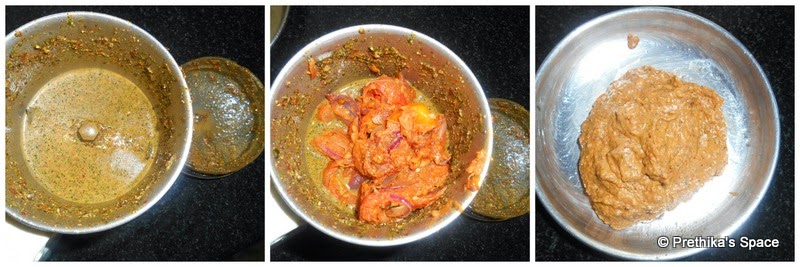
  • Note :After adding the flours i found the batter looked like a dough and my flour and egg yolk mixture didn't get incorporated well.So i used the hand mixer to clear off the small lumps.It worked well.


  • This was the batter that looked after i used the hand mixer(in column 1).Using a handmixer whisk the egg whites and cream of tartar until frothy and then slowly add sugar and beat until you find soft peaks.You can see the soft peaks in the (column 3).

  • Note If you have used the hand mixer for mixing the egg yolks and cream cheese mixture ,as i did ,kindly wash the the beater with water thoroughly and completly wipe the water with the help of a tissue paper,ensure no water drops are left behind before procedure to beat the egg whites.This is important because ,even a small drop of water in the beater would make difficulty in getting the peaks.It took 5 minutes to get the peaks.I took high speed for 4minutes then the last 1 minute i lowered the speed of the hand mixer.


  • To the cheese batter mixture add the egg whites in 3 portions.Do not add all the egg yolks at once.To get even mixture add the whites in batches.Once all the whites have been added pass the batter through a wire metal sieve and with the help of a spatula mildly scrap the batter,it would help the batter to pass through easily.The lumps would get collected at the top of the sieve.At the end of this you will a silky smooth batter which is absolutely lump free. 

  • Note Passing the batter through sieve method is optional.But if you except a perfect outcome ,then definelty i will advice you to complete this method.


  • Next pour the batter to the baking pan.Mildly tap the batter pan to allow the air buubles come out.In the oven place the wider pan and keep the batter filled actual baking pan above it.Add some boiling/hot water(I used the water which was used to steam in double boiler).The water should not be more than half of the batter quantity.Bake for 1hr 20 minutes.

  • Note The cake was completely baked after 1 hour in my oven.Since i wanted the browning top i baked for 20 minutes.Once the baking is over ,slightly keep  the door of the oven open for 10 -15 minutes.Remove the cake from the oven and invert the pan.Allow the pan to cool and enjoy the real Japanese cotton cheesecake.


   One more view of my cotton cheesecake


Read More..

Banana Sponge Cake

I was searching on net over a long time for the perfect banana cake,and fortunately landed on Anncoo's   website.Impressed with the outcome of the cake i finally decided to give it a try.And this is the best ever banana cake i have tried,and trust me you will fall in love with it.Its a simple cake and as said by anncoo it's a quick and easy to bake recipe.If you have a couple of banana's at home,then its worth-while to give a try.In each and every bite you can feel the aroma and flavor of banana,without the need to add the banana essence.This cake really turned out spongy so the perfect name banana sponge cake suits it.


You can see the spongy and airy cake inside.


Ingredients

Recipe Source Anncoo Journal

Ripened Banana - 200gm
Large Eggs - 4
Castor sugar - 140 g (Original recipe says 160g)
Boiled Milk - 40g
Maida/All Purpose Flour - 160 g
Baking Powder - 1tsp
Baking Soda - 1/2 tsp
Vanilla/Banana Essence - 1tsp
Refined Oil - 75g (Original Recipe says 100g of corn oil,but i have used Refined oil)


Pre-Preparation

Preheat 180C.And grease a cake tin.

Method


  • Using a fork mash the ripened banana's.Sift the APF/Maida flour with baking powder and baking soda atleast twice.In a bowl add the mashed banana's,sugar,milk.Using a hand-mixer whisk them at high speed atleast for 3minutes.


  • Lowering the speed of the hand-mixer add the essence.Later add the flour.Using a spatula mix the flour.While adding the flour ensure no lumps are formed.To avoid it add the flour in batches and mix well.


  • Finally add the oil and mix well until the oil has well incorporated with the batter.


  • Pour the batter to the greased tin and bake for 40-50 minutes at 180C.


  •  Mine got ready in 40 minutes.


Enjoy the cake


Note

  • Although the original recipe calls for corn oil  and cake stabilizer .I used Refined sunflower oil and I omitted the stabilizer.
  • Ensure you use large eggs.
  • You can mash the banana's in mixer also,instead of fork.I used mashed them in my mixer.
  • Original recipe uses 160g sugar but i thought banana's have a sweet nature by itself so reduced the amount.The outcome of my cake was perfect in a sweet taste,not sweeter.
Read More..

Maida Burfi

Maida burfi ,its a one such sweet which is easy to prepare and ofcourse a less messy dish to make,such that even a beginner could make it so easily.During any festive occasion,esp diwali, you can make it and distribute to your friends/relatives.Making this sweet does not consume a lot of time,so you could make in less than 40 minutes.


One String Consistency:

The only thing you have to look out in this recipe is the string consistency .while making sugar syrup we have to wait until one string consistency,and then add the maida flour to it.Checking of string consistency is not a big deal,it's too simple.Just have a cup of water aside while you make sugar syrup.Generally sticky consistency comes after 10-12 minutes ,then,half string followed by one string consistency which is again followed by two string consistency.Beginners,dont worry about these terms,its so simple...I will explain the one string consistency here...After the sugar syrup becomes sticky,ie when touch the syrup between your thumb and fore-finger the syrup will be sticky.If you leave the syrup to boil for even more some time,it comes to 1 string consistency.TO check it.Dip your thumb and fore-finger in ordinary water and take a little bit of boiling syrup in a ladle, and when the syrup is comfortable to handle ,you can find a thin string/thread forming between thumb and fore-finger.That is the right time to the maida.


Ingredients

Maida - 1 Cup
Sugar - 2 Cup 
Water - 1 Cup
Ghee - 1/2 Cup 
Rose Essence - 1/2 tsp
Food Color - 1/2 tsp 


Method

  • In  a pan add some ghee and roast the maida,until the raw smell goes off.See to that no lumps are formed while roasting.


  • Pass the roasted maida through the sieve ,and allow them to cool.Also grease a pan with ghee and keep it In a pan add sugar ,water to make sugar syrup.


  • When one string consistency is formed add the food color of your choice and also add the rose essence.Mix well.Add the sieved maida in batches,stirring continuously.


  • Once all the maida has been added mix the burfi. Add ghee little by little to the pan and transfer to the greased tin/plate and allow to cool.Level the burfi with a spoon dipped in ghee.Run the knife across the burfi while it is half cooled.Remove the slices from the tin/plate when they are completely cooled and keep them in airtight container.


Note

  • Do not stir for a long time after adding all the batches of maida.Just mix for 2 minutes and immediately transfer to the greased tin.The burfi may look loose,but after some time it will harden.

Read More..

Chetinad Crab / Nandu Masala - Restaurant Style

Its been a long time i made nandu/crab at home.This time i planned to make a restaurant type masala at home,and to my goodness for the very first time i tried a new recipe of my own and it came out well.I felt so happy that my own recipe, won the appreciation of all at home.So sharing my own recipe here.


If you find this interesting ,please try it out,and am definitely sure ,you will like this recipe.Please don't forget to drop your beloved feedback ,which will encourage me in further steps.


Ingredients


Serves 3


Crab - 250 g
Coconut Milk - 4 Tbsp
Red Dried chilli - 2 no's
Green chillies - 2 no's
Cinnamon stick - 2 no's ,each 1"
Water,Oil,salt -as reqd
Curry Leaves - few 

For Spice

Red Dried Chilli - 1 no(Depending on the spice requirement)
Pepper - 1.5tsp
Jeera - 1 tsp 
Saunf - 1/2 tsp
Curry Leaves - few

For Masala

Big Onion - 1no medium sized
Tomato - 1 no big

Method

    Pre-preparation


  • Wash and marinate the crab with turmeric powder,salt and vinegar(optional) for atleast 30 minutes.

  • In a kadai add some oil and toss with ingredients under For Spice.Let it to cool by transferring it to a wide bowl or plate.This is to be grinded.


  • In the same pan add again 1 tsp of oil and saute sliced onions and saute until cooked.Then add chopped tomatoes and cook for atleast 3 to 4 minutes in medium flame.Turn off flame.Let them cool.


  • In a mixer add the spice ingredients and grind well .Then add little amount of water and add the cooled onion and tomatoes and grind well.The paste should be so smooth.


  • In the same or another kadai add some oil and temper with green chillies,cinnamon stick and red chilli .Then add the paste and saute for a while,or until the raw smell goes off.Then add the cleaned Crabs and saute them.


  • Add some water and water to the crab ,until it is immersed well.Close the kadai with a lid and allow to cook.Once all the water has been evaporated add some oil at this stage ,to enhance the flavor.Stir well.


  • Now add the thick coconut milk and once the gravy looks like a semi-gravy consistency add curry leaves .Give a mix ,Switch off the flame.


  • It is ready to be served.Goes well with Idly,Dosa,Rasam,Curd rice and even plain rice.
Read More..

Sirukizhangu Poriyal / Chinese Potato

Sirukizhangu ,a rare root variety vegetable is available only during pongal season, i.s during the month of december,january. It's has a peculiar flavor and taste.Before it was mostly available in village markets but in recent years its allover available in all city markets too.


Ingredients

Sirukizhangu - Handful / 250 kg
Sambar Powder - 1 tsp
Salt - as Reqd

To Temper

Oil - 1 tsp
Mustard seeds - a pinch
Curry Leaves - Few


Method

  • Soak the sirukizhangu in water atleast for half an hour.Wash thoroughly under tap water to remove the sand and other dirt.Using a peeler remove the outer skin and keep them in a bowl.And finally after peeling off the skin of all the small potatoes,wash them again ,once,and chop the roots.

  • In a pan add oil and temper with mustard and curry leaves.Add the chopped roots and stir fry them .Add salt after sauting for a minute.And Add some water ,just to immerse the chopped roots.Close the pan with a lid and saute until cooked.
  • Finally add the sambar powder and stir them well.Switch off flame once done.
  • Serve hot.


Read More..

Mutton Briyani

Weekend is yet to arrive,most of the people make their special menu's on weekend's only,because it means like a get together with family members.So special menu's carry on during weekends.Here is a such special recipe which i every people love.Ya it's a biriyani...Over from pizza mania ,now the trend has changed to biriyani mania...Biriyani is always a special food for Indian's.Varying from Kashmir to Kanyakumari there are different varieties of biriyani's or pulav's.Each regions method of making biriyani varies from the other region.But the unique thing is, its overall flavor attracts everybody.

Do you know why people love biriyani's? Its a yummy platter of perfectly done done rice blended with spices and veggies/meat.India is well known for its spices allover the world.Whatever meal we make spices play a vital part in bringing up the flavor and taste. Briyani is a one such food ,or we say a masterpiece of-course..Shall we lookout how my biriyani has come out ...


Making biriyani has always been so exciting to me. The Wonderful portion in making biriyani's to me is marinating..I love marinating.Each time i prepare fresh masala's for making biriyani's.The method which i have mentined for making this mutton biriyani is the same for chiken/veg briyani .For veg briyani's you can omit the marination part.If you prefer ready made masala's for making biriyani's,for a change, you can try out this fresh masala part ...It is interesting to take part in all the process of making a briyani.And i'm sure you will like it..


Ingredients

Serves 2 -3

For Marinating

Mutton - 250 g
Fresh Curd - 2 Tbsp
Slit Green Chillies - 2
Ginger-Garlic paste - 2tsp
Saunf powder - 1tsp
Pudhina and coriander leaves - few
Turmeric powder - 1tsp
Salt - as Reqd


For Pudhina Paste

Pudhina - less than a handful measeurement
Coriander Leaves - Half the quantity of pudhina measurement
Saunf Seeds - 2 tsp
Green Chillies - 2 (depending upon your spice requirement)


For biriyani

Rice - 250g 
Bay Leaves - 2 no
Cinnamon Stick - 2 no's
Elaichi - 1 no
Annasi Poo - 1 no
Cloves - 2
Onion - 2 no's
Tomato - 1 
Green Chillies - 1 Slit length wise
Fresh Curd - 1.5 Tbsp
Lemon Juice -1/2 tsp
Oil - as reqd
Ghee - 4 tsp
Turmeric powder- 1/2 tsp
Garam Masala Powder - 1 tsp (if home made, 1/2 tsp if store brought one)
Pudhina and Coriander Leaves - few
Salt - as Reqd


Method


  • First comes the marination part.Wash the mutton with vinegar (optional) and water.Wash them thrice with water.Then add all the ingredients under marination part and leave aside for atleast 1/2 hour.Once marination is over pressure cook them for minimum of 15 whistles or until the meat gets cooked.


  • Next is the fresh masala grinding part.It is so simple to make.In a pan add some oil and saute with the ingredients under pudhina paste.Allow them to cool and grind.Keep aside the ground masala.


  • Now you can check the pressure cooked meat and strain the water from the meat. Don't discard the water,reserve them.In a bowl add the rice and wash them once with water and completely strain the water.In a pan add some ghee and saute the strained rice.


  • Saute the rice well and remove from stove and keep aside.In a pressure cooker or in a kadai add some oil/ghee and add the spices(bay leaves,cloves,annasi poo,cinnamon and elaichi) saute them for a minute under medium flame.Then add the sliced onions and saute them well ,for 3 to 4 minutes under medium flame.


  • Then add the grind pudhina paste and saute them well .Add some oil if required at this stage.Then add some turmeric powder,little bit of garam masala and salt.Then add the tomatoes.Saute until the tomatoes are well cooked.


  • Next add the cooked meat and saute for atleast 4 minutes.Then add curd and pudhina leaves mix well and add the reserved water.Measure the water and add to the pan.For 1 Cup rice add 1.5 Cup water including the reserved water.


  • Once the water starts boiling add the fried rice and check to the salt and spice level now.(If you feel to add more spice you can add chilli powder at this stage,But its completely optional, to add chilli powder.I generally prefer only green chilly flavor.)Add the remaining garam masala at this stage and squeeze 1/2 tsp of lemon juice and close the cooker.Wait for 2 whistles and open the lid once the pressure is released and mix the briyani with a ladle.


  • Serve hot with onion raitha and salna.Enjoy!!!


Read More..